Vim Commands
Hi! Today I want to talk and share my notes about Vim. You can find notes about basic Vim command here. There won’t be settings commands like :set number, we will explore them later. Here I want to show you basic Vim usage.
First steps
What is Vim
Vim is a text editor, created to work with text faster and more effictevily. In my opinion, you can become 10 times faster with typing/redacting your texts with Vim. It has a lot of cool features to make you perform a changes quickly by simple combinations of commands.
It is very useful to study Vim and combine it with blind 10 fingers typing. Take your time to reach that level and you will work with your texts like on steroids 🔥.
Install and start Vim
I used a default Vim without configurations on the Ubuntu desktop VM. You can install it with apt.
1
sudo apt install vim
You can start Vim in 2 different ways: open it in current terminal session, or like a new window application. When you choose, specify the filename to enter Vim.
1
2
3
4
5
# Current terminal window
vim file.txt

# New window
gvim file.txt
Modes
The editor behaves differently, depending on which mode you are in.. There are a lot of modes in Vim:
- In
Normalmode the characters you type are commands. - In
Insertmode the characters are inserted as text. - In
Visualmode you selecting the text. - In
Replacemode you replacing the text character-by-character.
Normal mode
Moving
Move by 1 character, just like arrow keys
h- Left.j- Down.k- Up.l- Right.
Vim do remember the position on the cursor when you switching the lines up and down. If there are enough characters on the line, the cursor will be placed on the same position, else, it will be placed on the end of line.
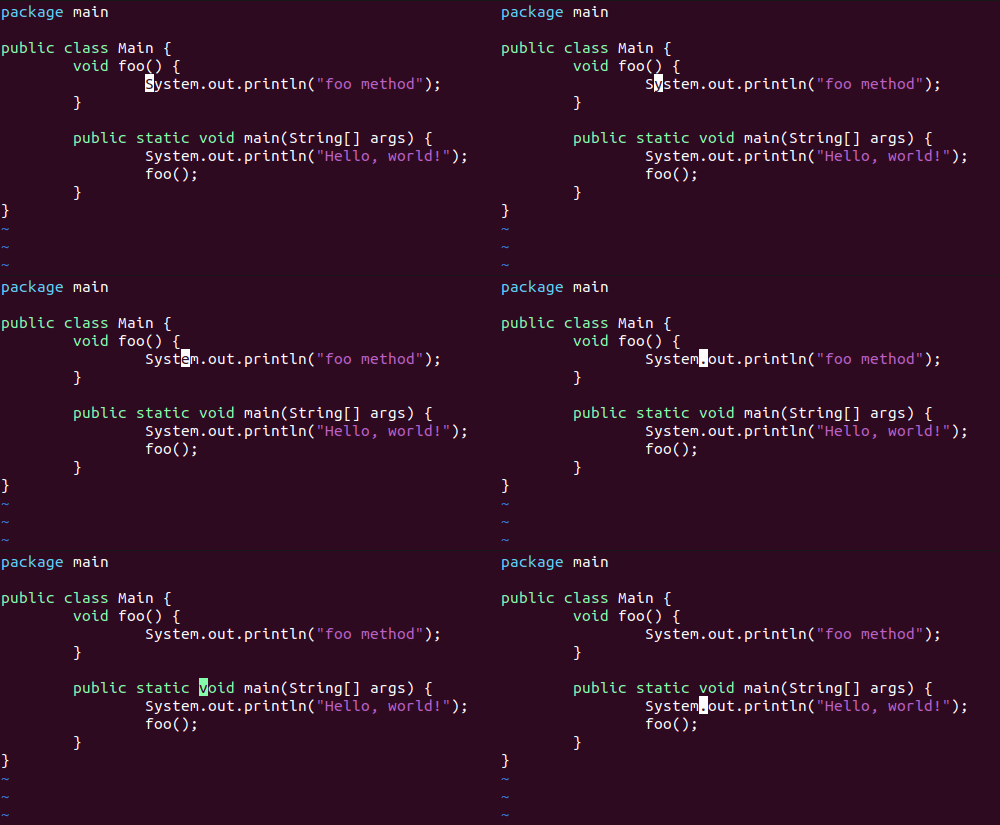
These commands are placed especially for 10 fingers typing format, they are the fastest you can type. Also, you can move the cursor with arrow keys, but it will take a lot of your time and slow your editing because you will always move your hand to the arrow keys.
Word movement
w- Move the cursor forward one word. Moves to the start of the word. If the current word is the last word of a line, moves you to the first word in the next line. Much faster when moving through paragraphs thanl.b- Move backward to the start of the previous word. If the current word is the first word of a line, moves you to the start of the last word of a previous line.e- Move to the next end of a word.ge- Move to the previous end of a word.
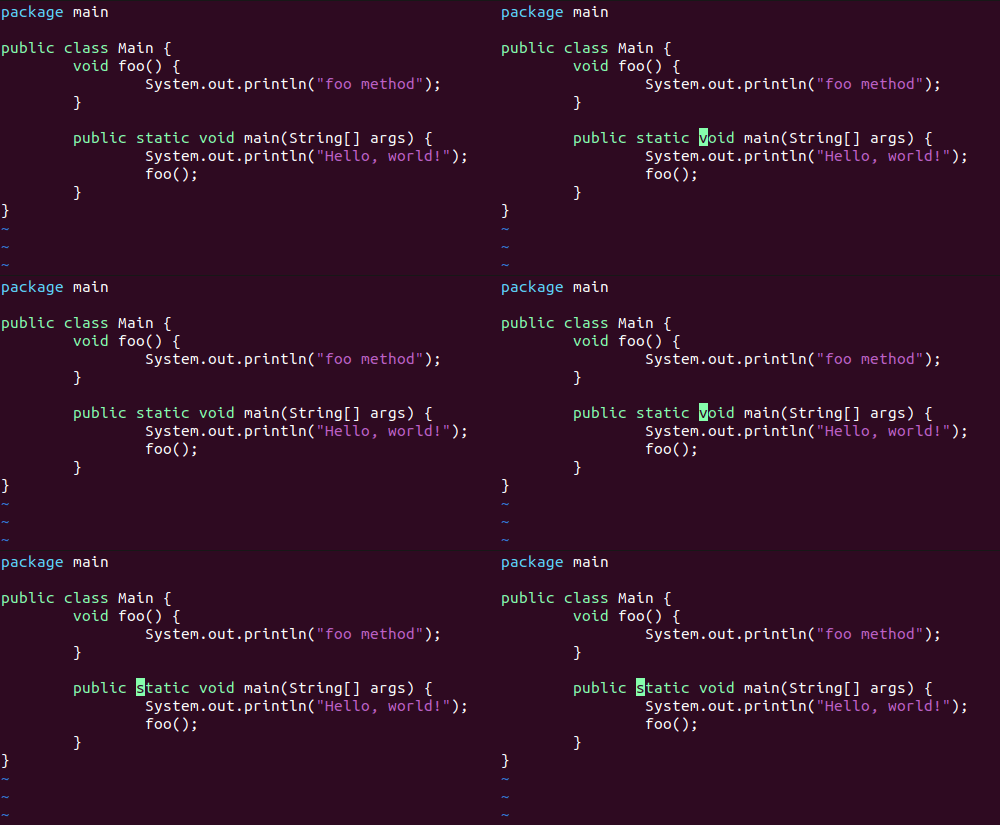
Move by white-space separated WORDs
In Vim, the word ends with a non-word character, so you may want to move through white-spaces. These are called WORDs (case-sensitive).
W- Move to the start of next word.B- Move to the start of a previous word.E- Move to the next end of a word.gE- Move to the previous end of a word.
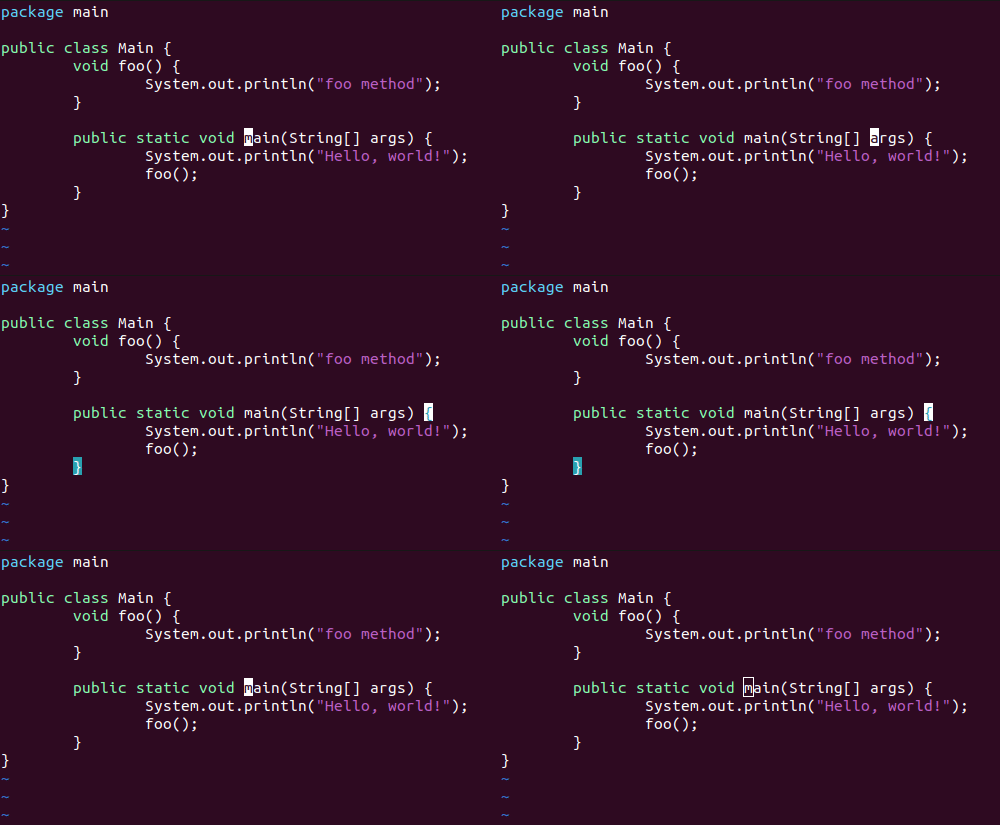
Moving to the start or end of a line
$- Moves the cursor to the end of a line. Also works with keyboard<End>key. Works with numbers, for example2$moves to the end of the next line.^- Moves the cursor to the first non-blank character of a line.0- Moves the cursor to the start of a line.
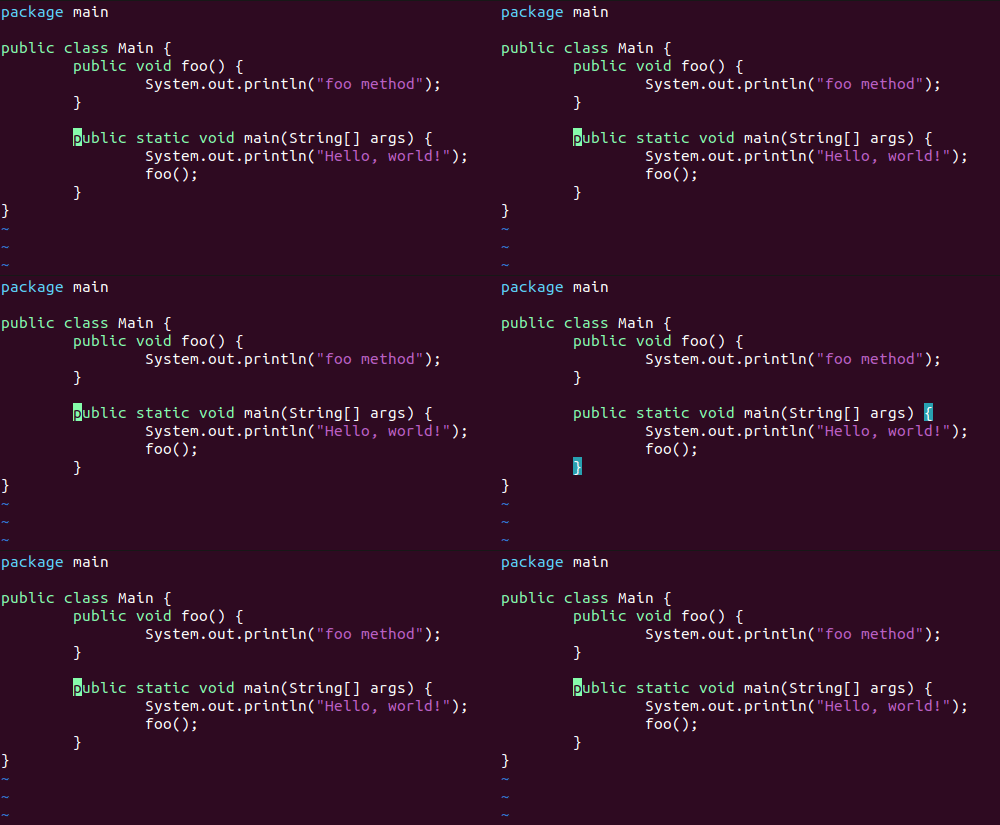
Moving to a character
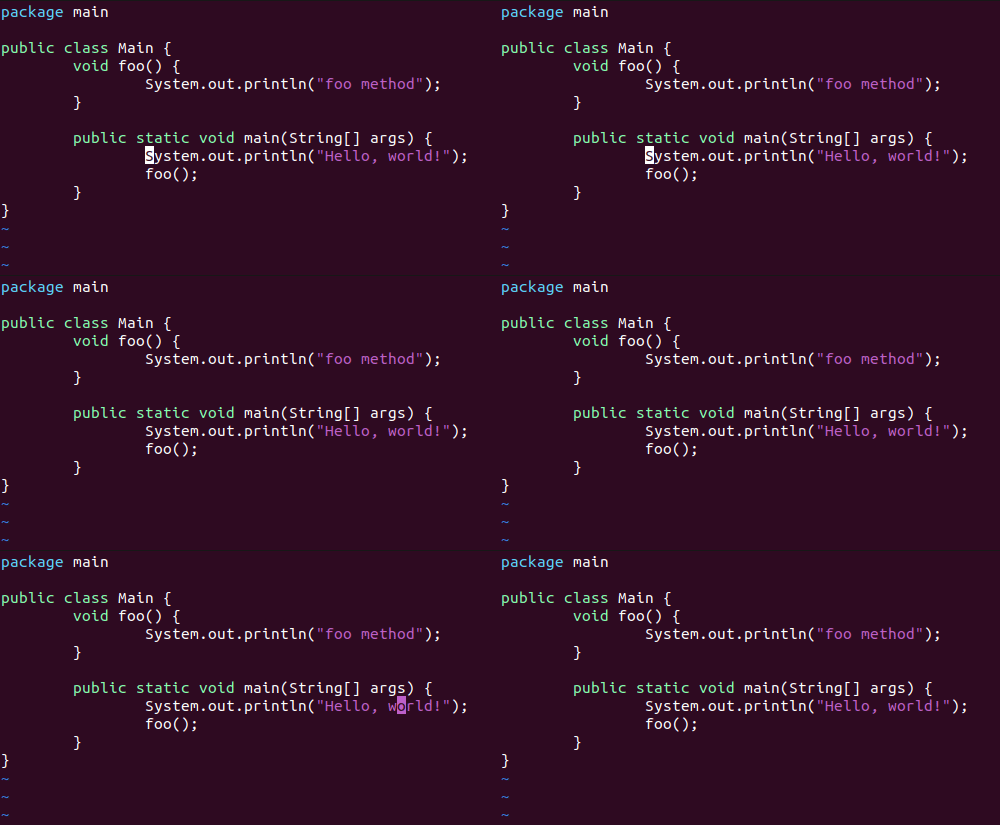
f- Find. Single-character search forward in the line. Works with numbers.F- Find backwards.t- To. Stops one character before the searched character forward in the line.T- To backwards.
These commands can be repeated with ;. , repeats in the other direction.
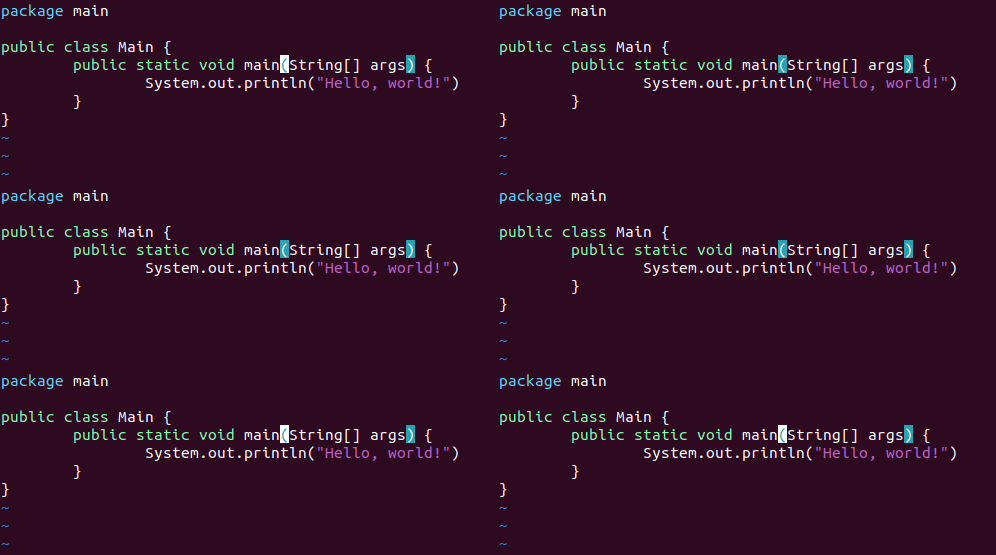
Matching a parenthesis
%- Moves to a matching parenthesis, works with(),[]and{}.
Using a count
Many command can be used with numbers. For example:
9x- Deletes 9 characters.9k- Moves 9 lines up.9w- Moves through 9 words.
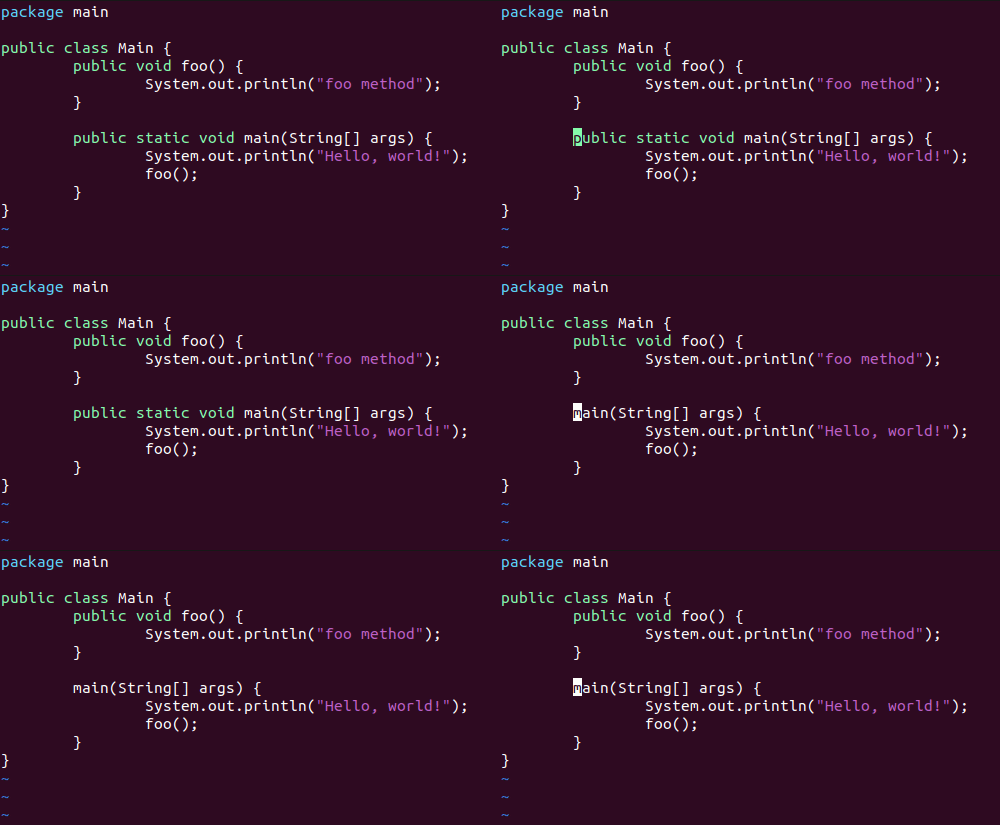
It is important to know where to put the count number. For example: the command 3dw deletes one word three times and the command d3w deletes three words once. Also, it is possible to put two counts, like the command 3d2w, which deletes two words three times, for a total of six words.
Scrolling
It is boring to scroll with jk commands by one line. So there are much commands to make it easier in Vim.
Scroll the screen
CTRL-U- Scroll half of a screen up.CTRL-D- Scroll half of a screen down.CTRL-E- Scroll one line up.CTRL-Y- Scroll one line down.CTRL-F- Forward. Scroll one screen up.CTRL-B- Backward. Scroll one screen down.
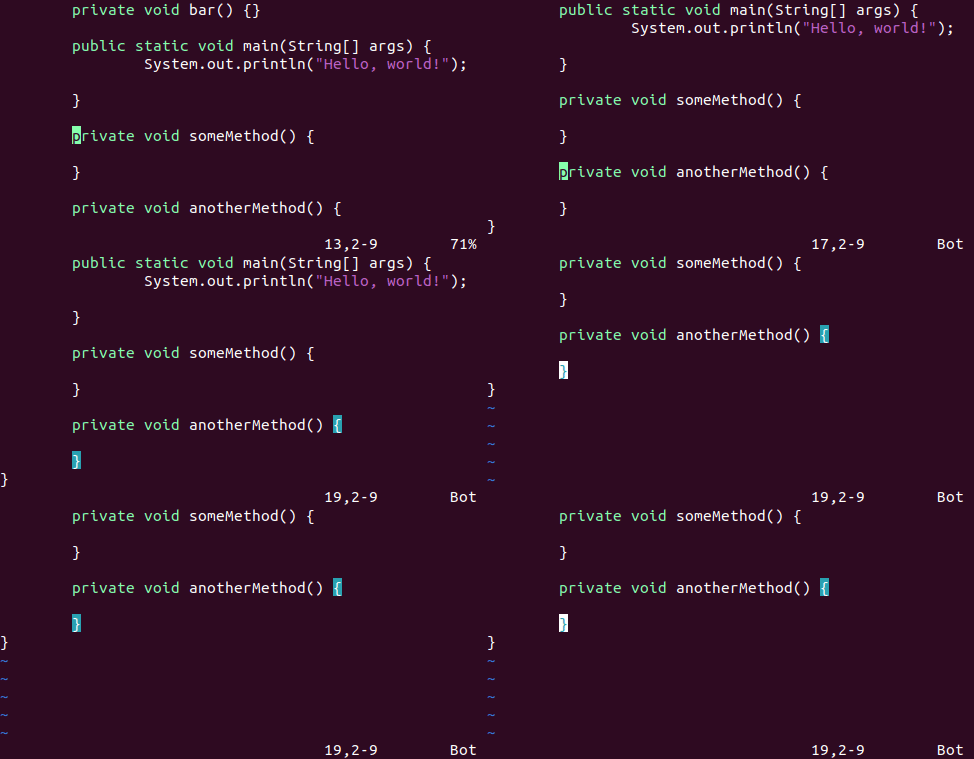
Scroll to cursor position
zz- Center the screen on cursor line.zt- Make a cursor line on top of a screen.zb- Make a cursor line on top of a screen.
Jumping
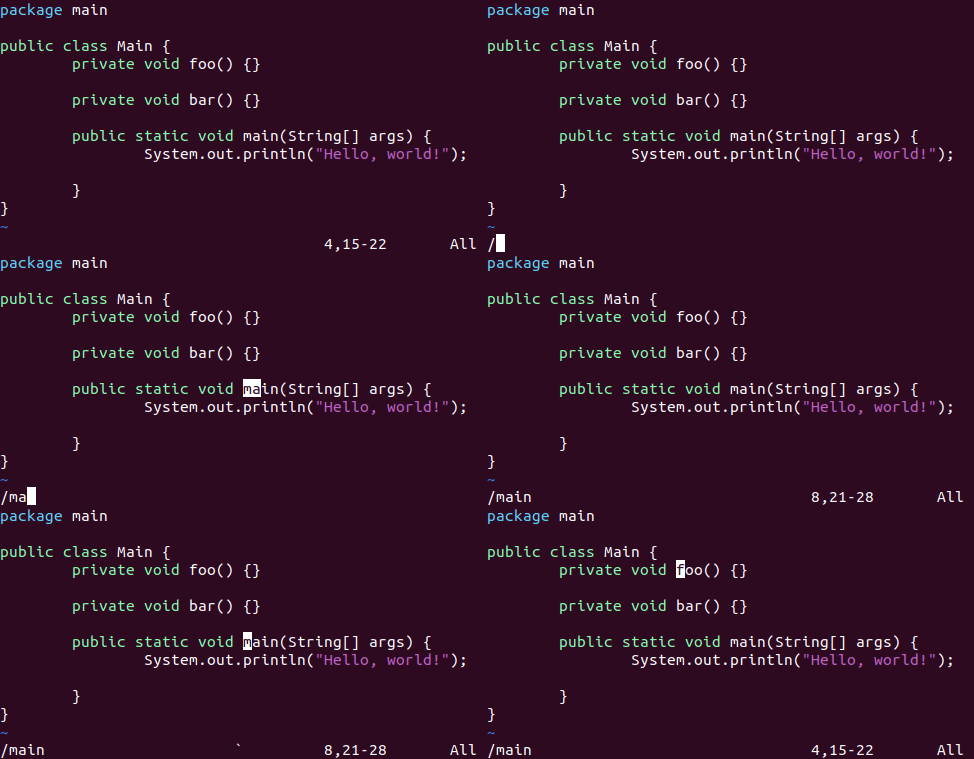
When use jumping, Vim remebers the position before the jump. You can jump back using ``. If you type this again you will jump back to the search, because the vim remebers this jump too. When you use searching, Vim also jumps to the matches.
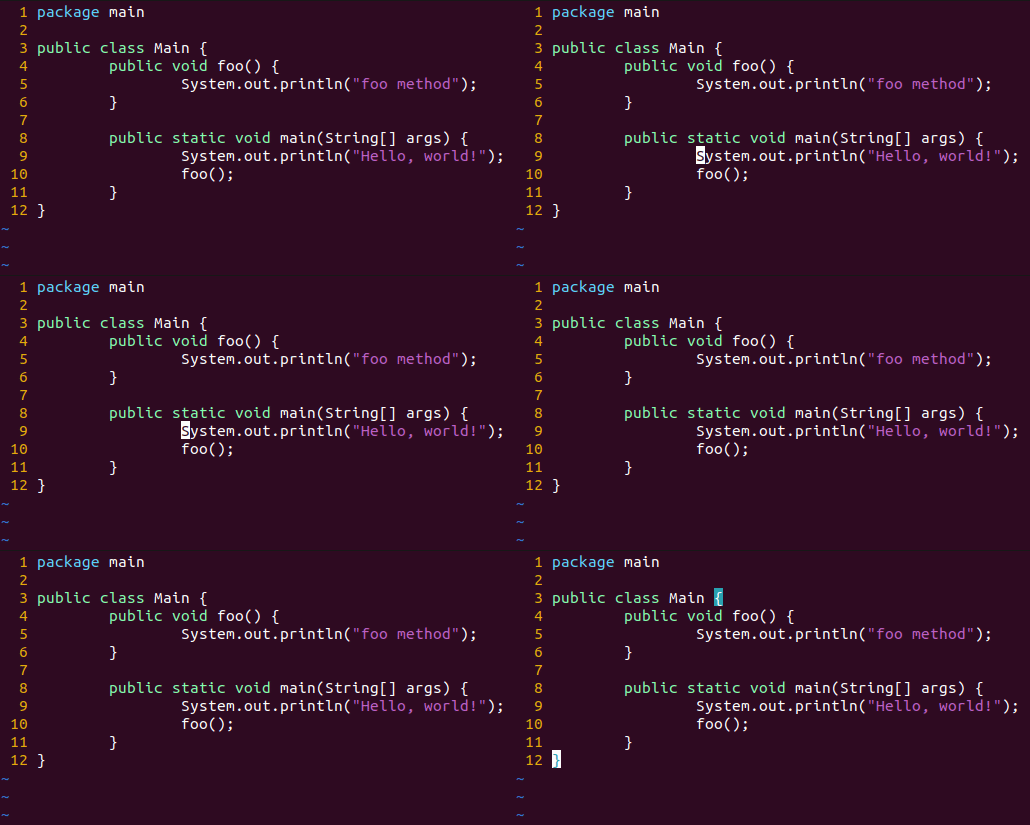
I enabled the :set number feature to demonstrate line numbers when jumping to lines.
:jumps- Command that gives a list of positions you’ve jumped to.CTRL-O- Jump back.CTRL-I- Jump forward.
Jumping to a specific line
<Count>G- Jump to a<Count>line.gg- Jump to the start of a file.G- Jump to the end of a file.<COUNT>%- Percent jumping. Jump to<COUNT>percent of a file.H- Home. Jump to the start of a visible area.M- Middle. Jump to the middle of a visible area.L- Last. Jump to the end of a visible area.
Named marks
You can set up to 26 marks by using command m<letter>
`<mark>- Move to a mark.'<mark>- Move to a begging of the marks line.:marks- Get list of marks.
Special marks
``- Cursor position before doing a jump.''- Cursor position when last editing the file.[- Start of the last change.]- End of the last change.
Searching
Note: The searching feature uses
Regular Expressionsin its work. The characters .*[]^%/\?~$ have special meanings. If you want to use them in a search you must put a \ in front of them.
Search forward
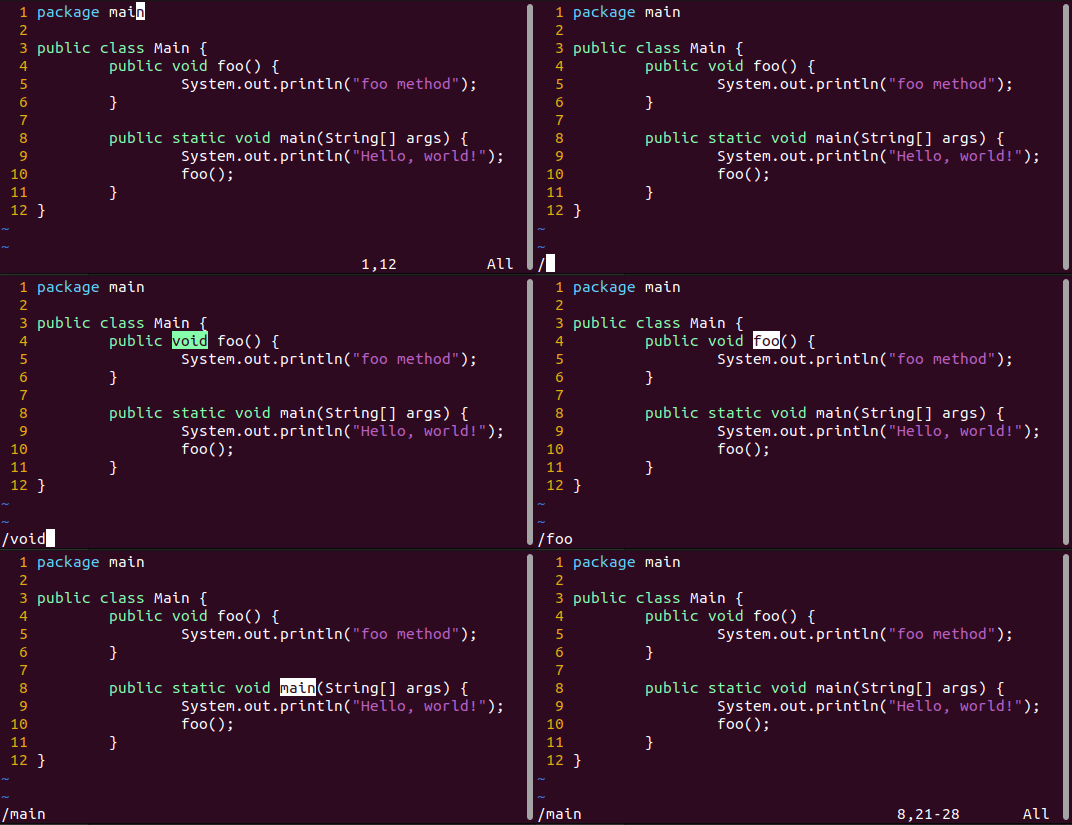
/include- Search for a word “include” after the cursor.n- Move to next match. Works with numbers.
Search backward
?word- Search for a word “word” before the cursor.N- Move to the previous match. Works with numbers.
Search history
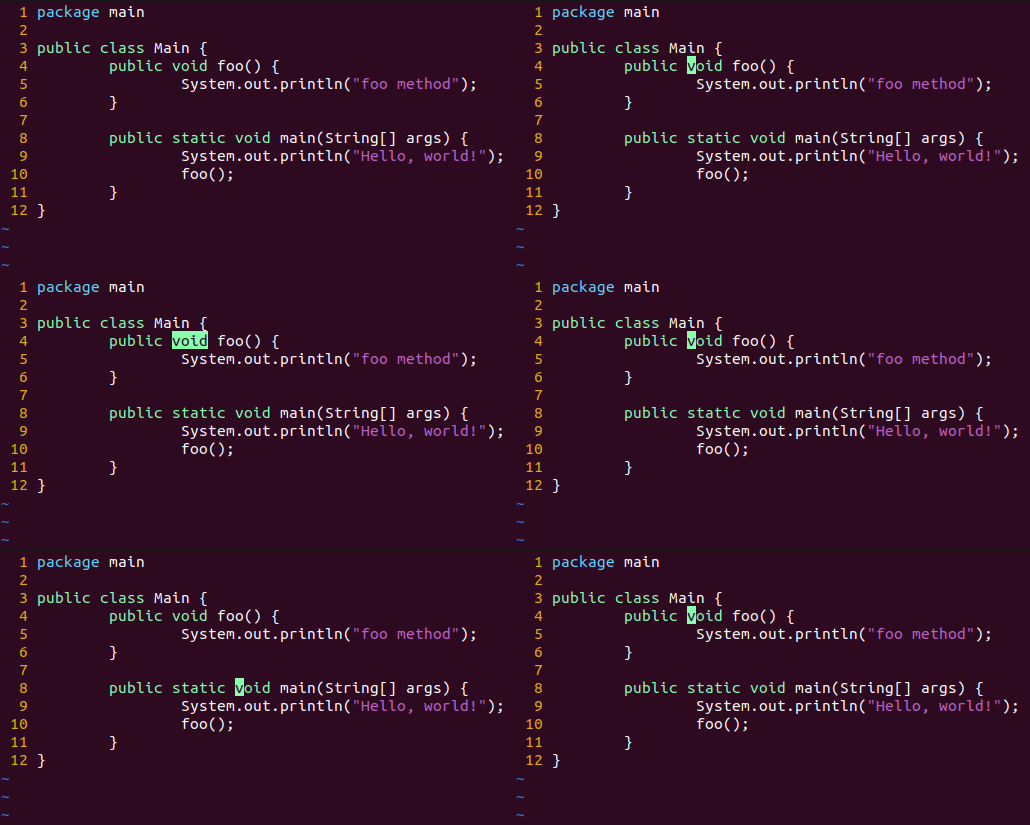
Let’s imagine you have search for these patterns:
- “/one”
- “/two”
- “/three”
You can use <UP> and <DOWN> arrow keys to move through the search history. Works with patterns, for example /o<UP> can move you to “/one”.
Searching for a word in the text
To demonstrate this feature I used :set hlsearch setting to highlight all matches when searching.
*- Grabs a whole word under the cursor and use it as the search string. Searches only the same word.#- Same but in the other direction.g*- Grabs a whole word and uses it as the search string. Matches the partial words.g#- Same but in the other direction.
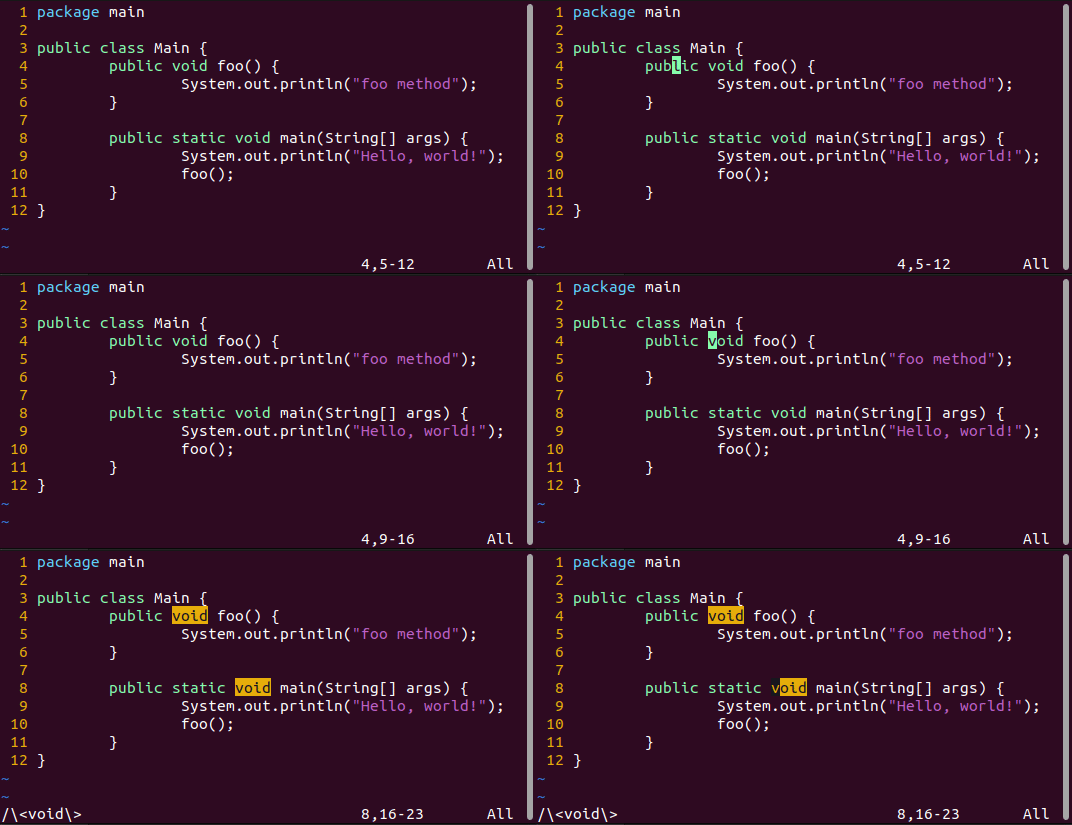
There are some special markers which do specify a search:
\>- Special marker that matches only at the end of a word.\<- Special marker that matches only at the begin of a word.
Deleting
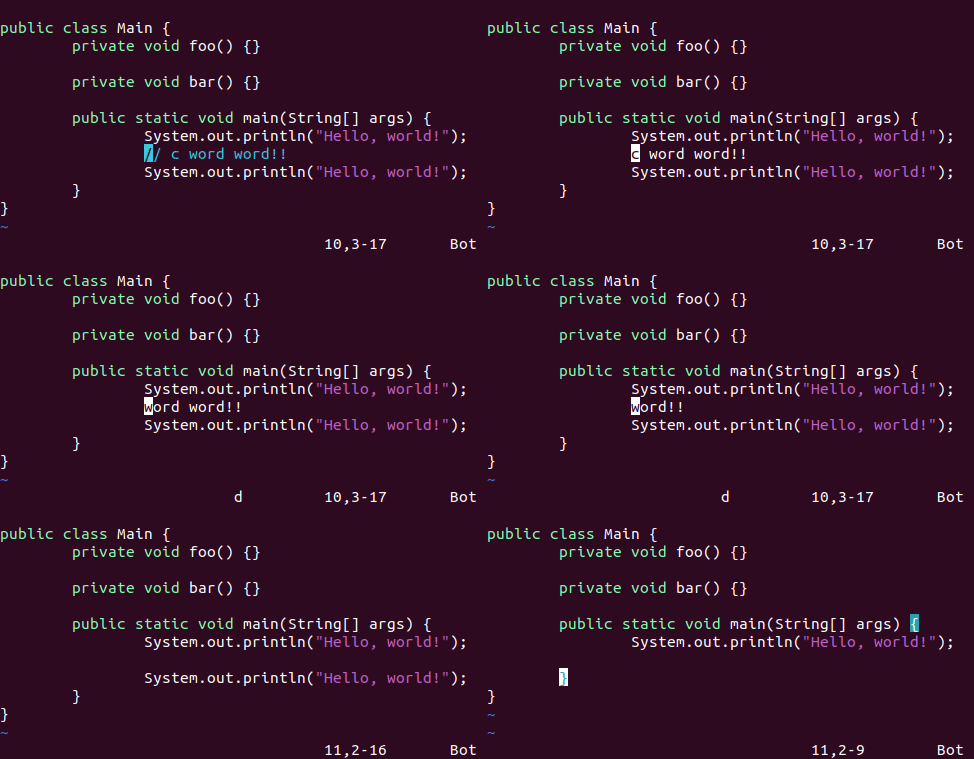
dl=x- Delete 1 character under the cursor, the cursor stays at its place. Works with numbers.dh=X- Delete character left of the cursor.dd- Delete a line, move you up 1 line.J- Delete a line break. Joins 2 lines together.dw- Delete word. Doesn’t delete next first word character.de- Delete word and set cursor on the end of that word.d$=D- Delete from the cursor to the end of the line. In fact,dcommand may be followed by any motion command, and it deletes from the current location to the place where the cursor winds up. Also, thedcommand works with number.
Changing
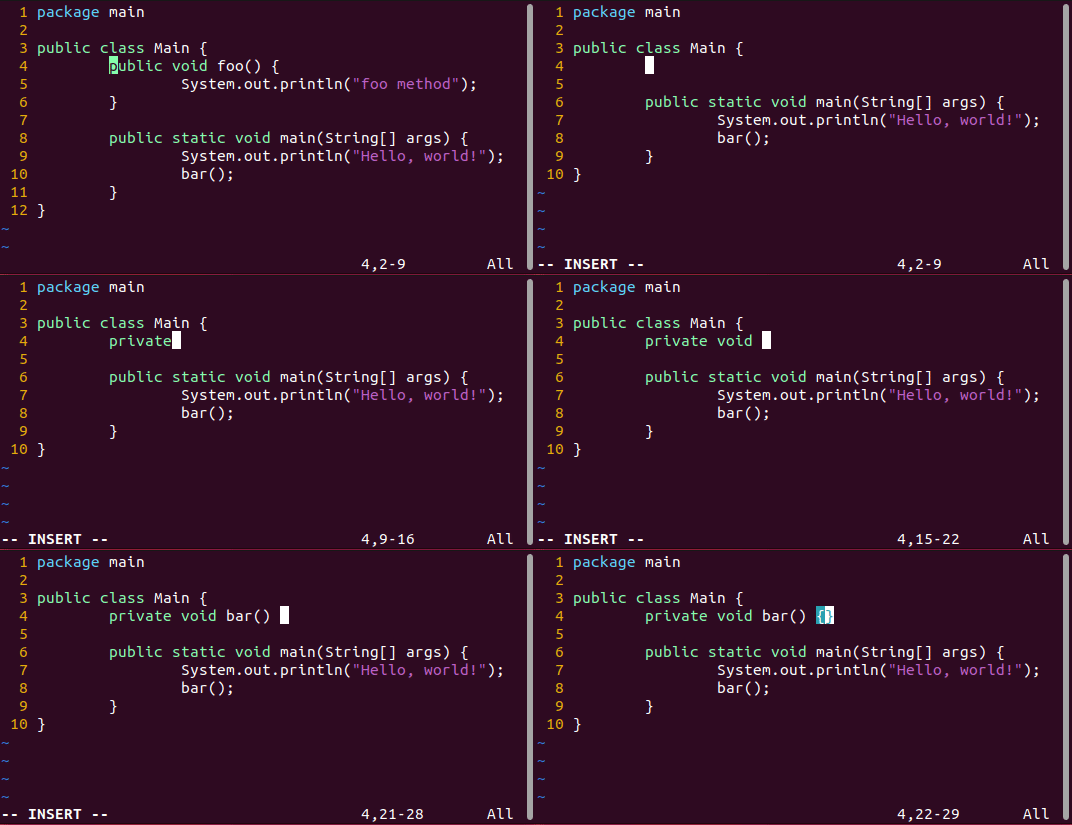
Operator c is reffered to “Change”. It works just like the d operator, except it leaves you in Insert mode. Works with numbers.
cl=s- Change one character.cw- Change word. Deletes a word and then puts you in Insert mode. It works ascecommand, change to end of word, and doesn’t move you to the next word. It is an exception in Vim that dates to the old Vi.cc=S- Changes a whole line.c$=C- Changes from a cursor to the end of line. Works likeddand thenacommands.
Change case
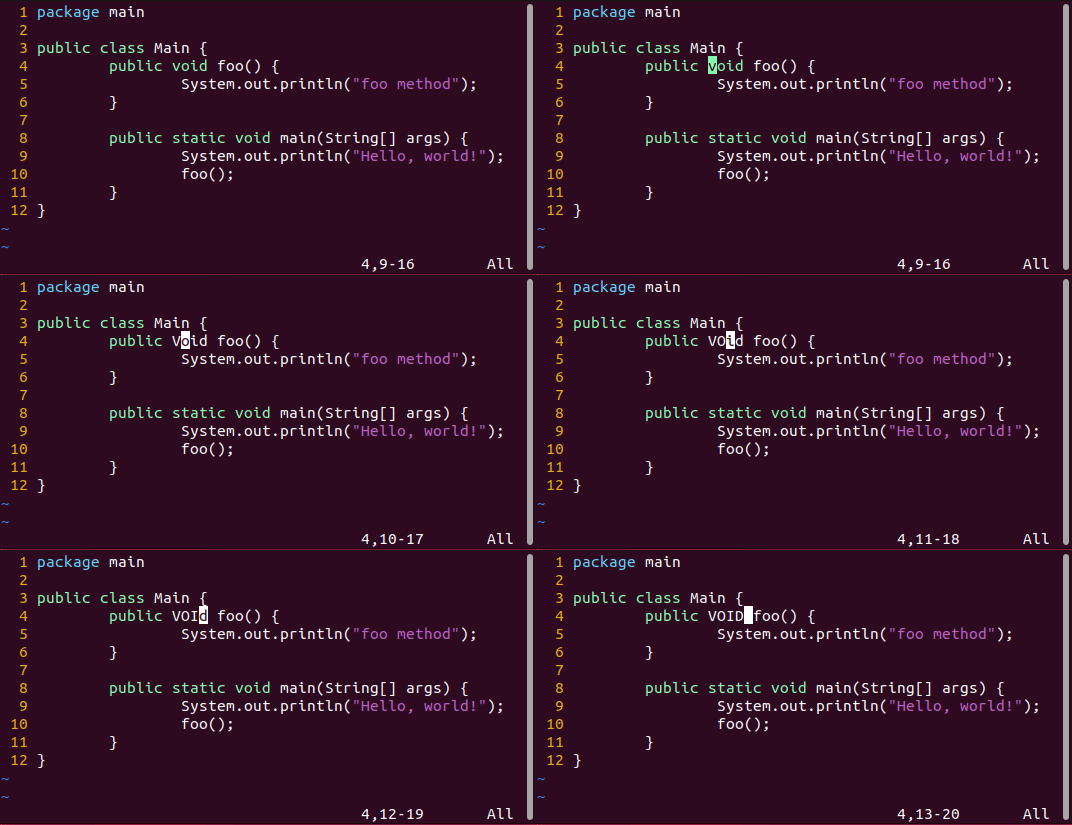
You can use ~ to change the case of character under the cursor.
Replace one character
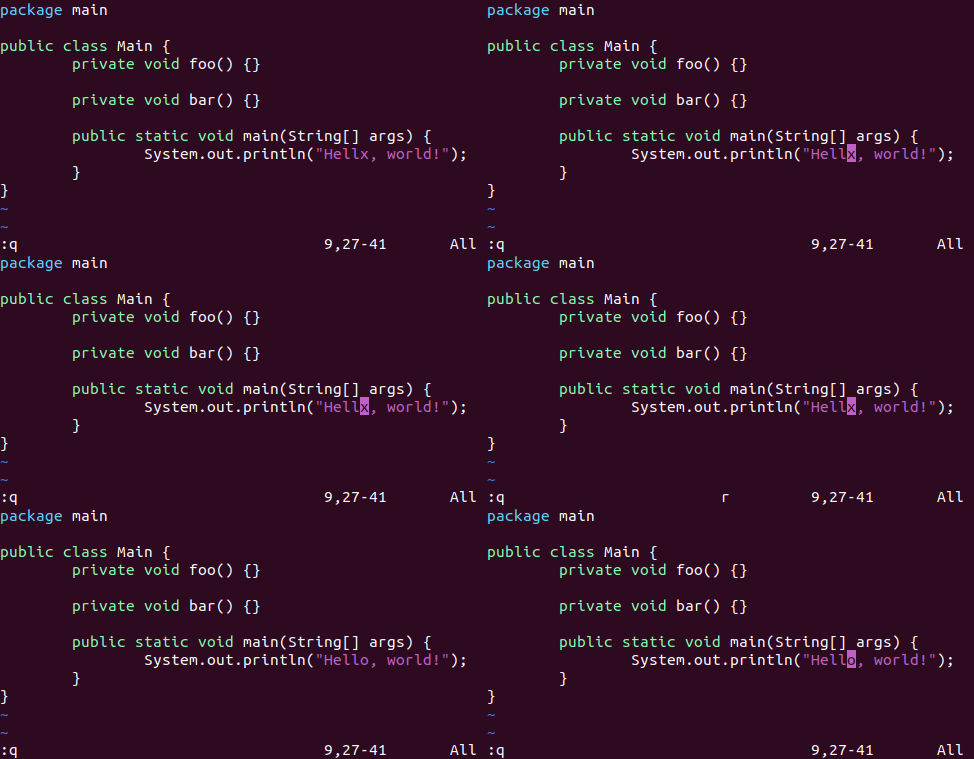
We can replace one character without using a cl or s commands, which do enter us in Insert mode. It can be done without entering an Insert mode with r command.
rx- Replace current character with x.r<Enter>- Replace a character with a line break.
Find and replace
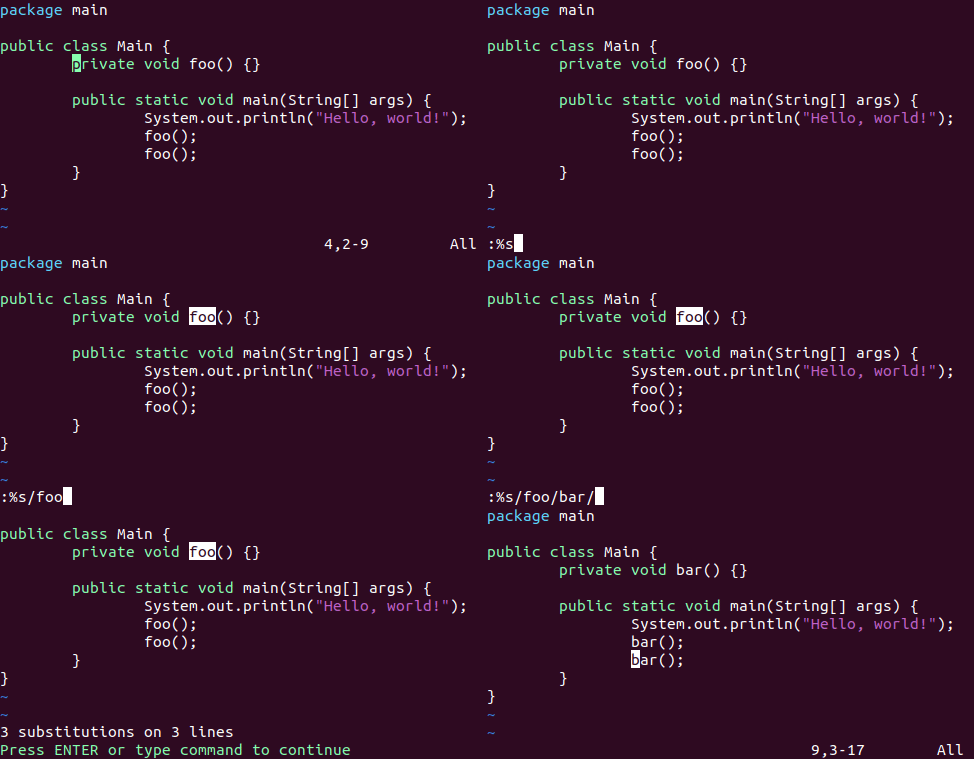
You can find and replace text using the :s command. It has a behaviour like a UNIX sed command. The syntax is similar too.
1
:[range]s/{pattern}/{string}/[flags] [count]
The command searches each line in [range] for a {pattern}, and replaces it with a {string}. [count] is a positive integer that multiplies the command.
:s/foo/bar/- Replace the first occurrence of the string “foo” in the current line with “bar”.:s/foo/bar/g- Replace all occurrences of the string “foo” in the current line with “bar”.:%s/foo/bar/g- Replace all occurrences of the string “foo” in the entire file with “bar”.
Repeating a change
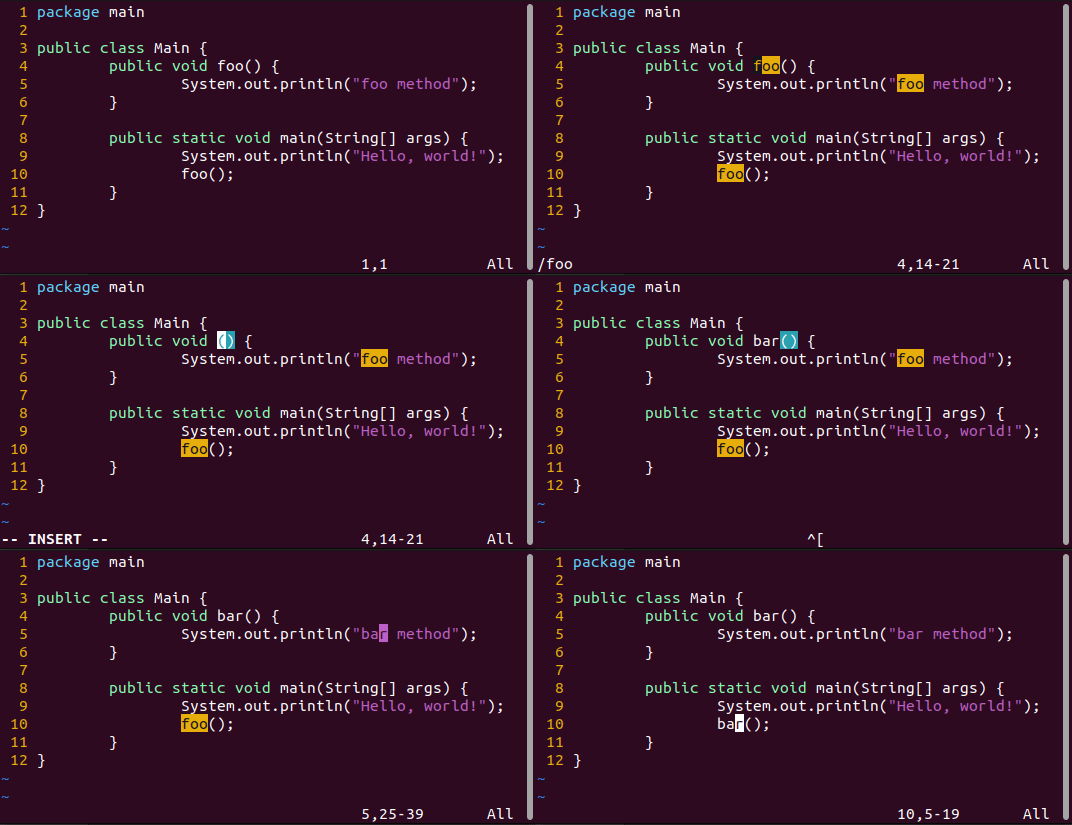
The . command is one of the most simple yet powerful commands in Vim. It repeats the last change done. The command works for all changes you make, except for the undo, redo and :commands.
For example: find and change the word “four” to word “five” several times
/four- Find the first string “four”.cwfive<Esc>- Change the word to “five”.n- Find the next “four”..- Repeat the change to “five”.n- Find the next “four”..- Repeat the change to “five”.
Undo and Redo
u- Undo the last edit.Ctrl-R- Redo, reverse the preciding command. It undoes the undo.U- Undo line. Undoes all the changes made on the last line that was edited.
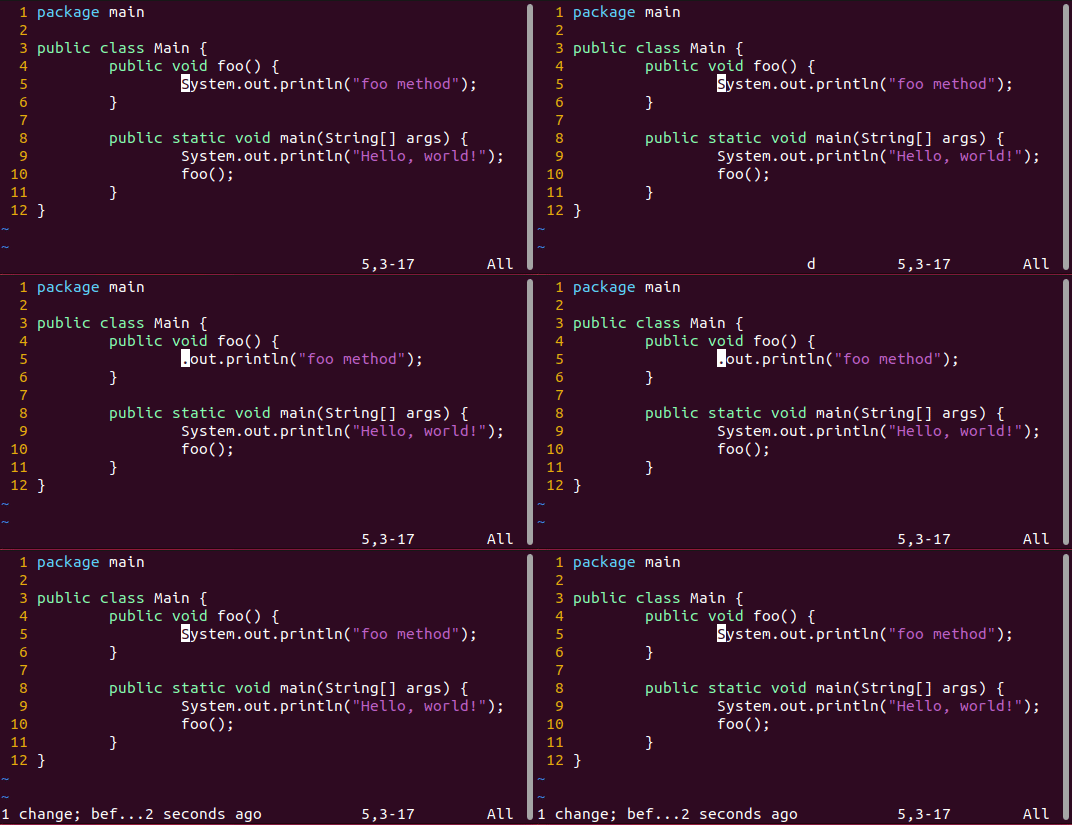
Copying
The y (yanking) operator copies text into a register. Then a p command can be used to put it.
yw- Yank a word. Note that it includes the white space after a word.yy=Y- Yank a whole line.y$- Yank from the cursor to the end of line.
Putting
When you delete something, the text is saved in the register. You can paste it back by using the p command. You can repeat putting. The same text will be used.
p- Put. Paste after the cursor.P- Paste before the cursor.
You can use xp command to swap the left character with the right character.
Copy-pasting from clipboard
To use clipboard with Vim you have to prepend "* before the yank and put commands.
"*yy- Copy the whole line to the clipboard."*p- Put text from the clipboard.
Finding help
To get help we can use a special command :help with specified subject. The usage examples below:
:help {subject}- The structure of help command.:help- Enters help files.ZZto exit, in this case the command does not exit Vim.:help x- Get help on thexcommand.:help :command- Get help on specific command.:help CTRL-<character>- Get help on control character.
Helpgrep
Searches for pattern in whole text of all help files. Jumps to the first match.
:helpgrep pattern- The command syntax.:cn- Jump next match.:cprevor:cN- Jump previous match.
Getting out
ZZ- Writes the file and exits.:q!- The quit-and-throw-things-away command. Doesn’t write changes and exits.:qwill throw an error when the changes exist.:e- Reloads the file without saving changes. Doesn’t quit, continue editing.
Insert mode
The Insert mode interprets all typed keys as a text. Press i to enter the insert mode. Press <Esc> to back to the normal mode.
Inserting
All commands in this section do enter the Insert mode.
i- Before current character.I- Before the first character at the first word in the line.a- After current character.A- At the end of line.
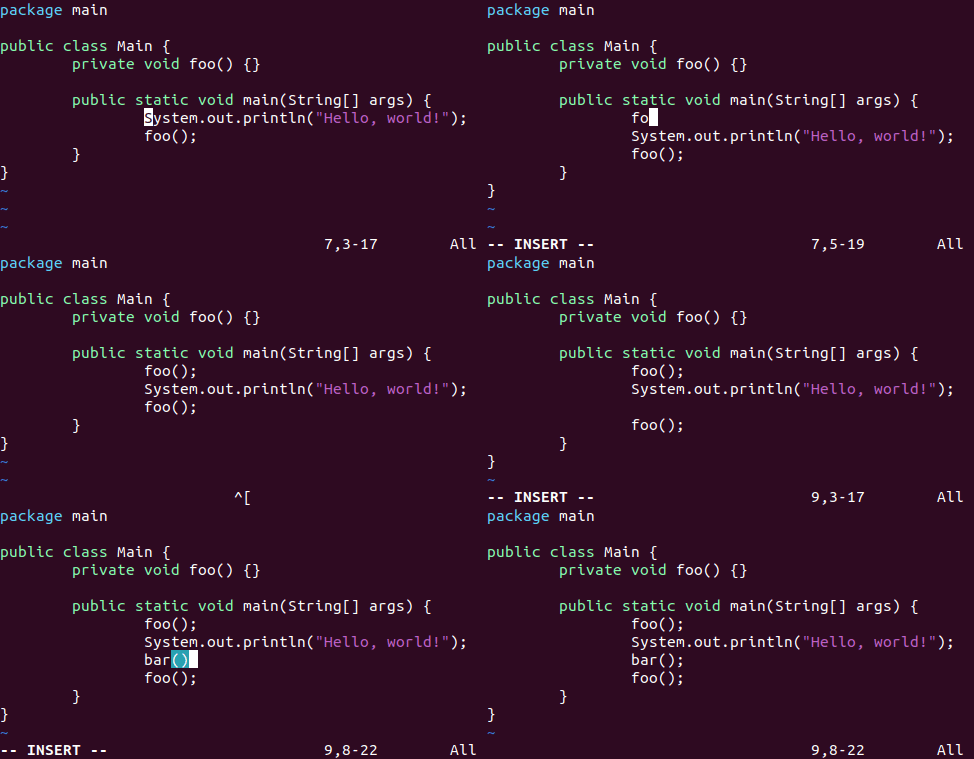
Opening up a new line
o- Creates new line below the cursor.O- Creates new line above the cursor.
Visual mode
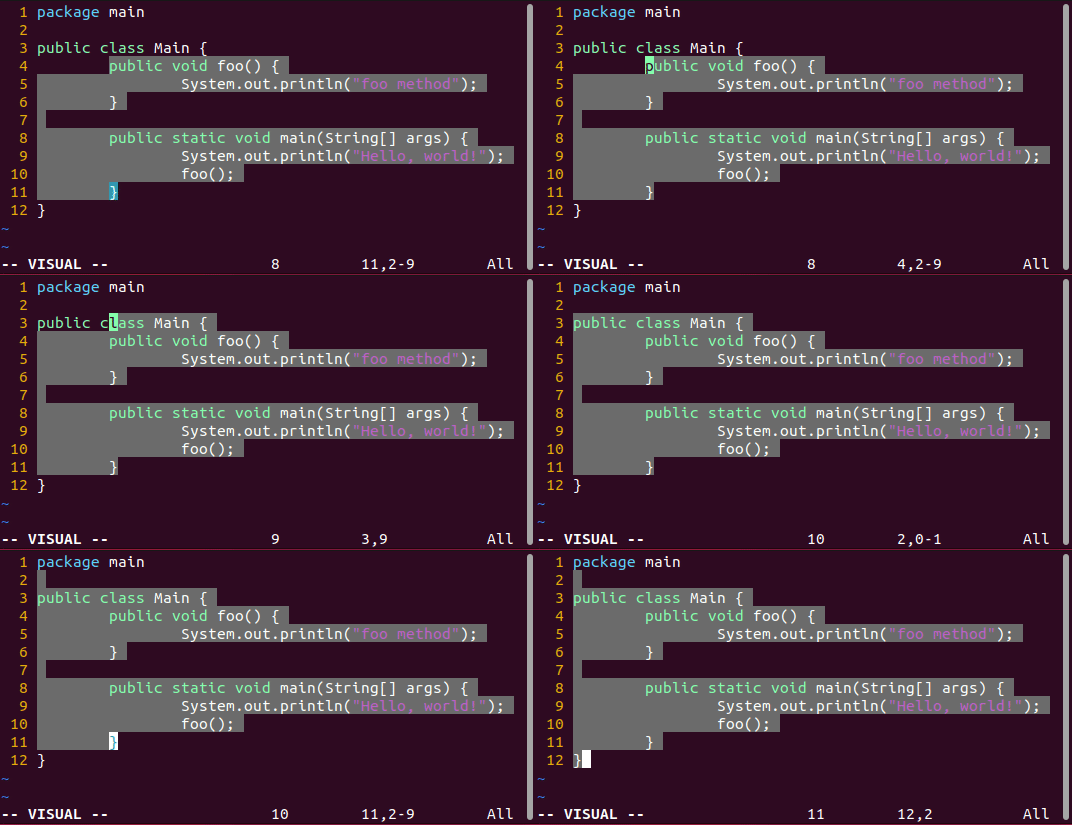
The Visual mode selects and highlights the text, which then can be processed with operator. Press v to enter the Visual mode. Press Esc to go back to the Normal mode.
Entering Visual mode
v- Just enter Visual mode.V- Enter selecting lines mode. Left-right moves do nothing, moves up and down selecting the whole lines.CTRL-V- Enter selecting blocks mode. Useful for tables.
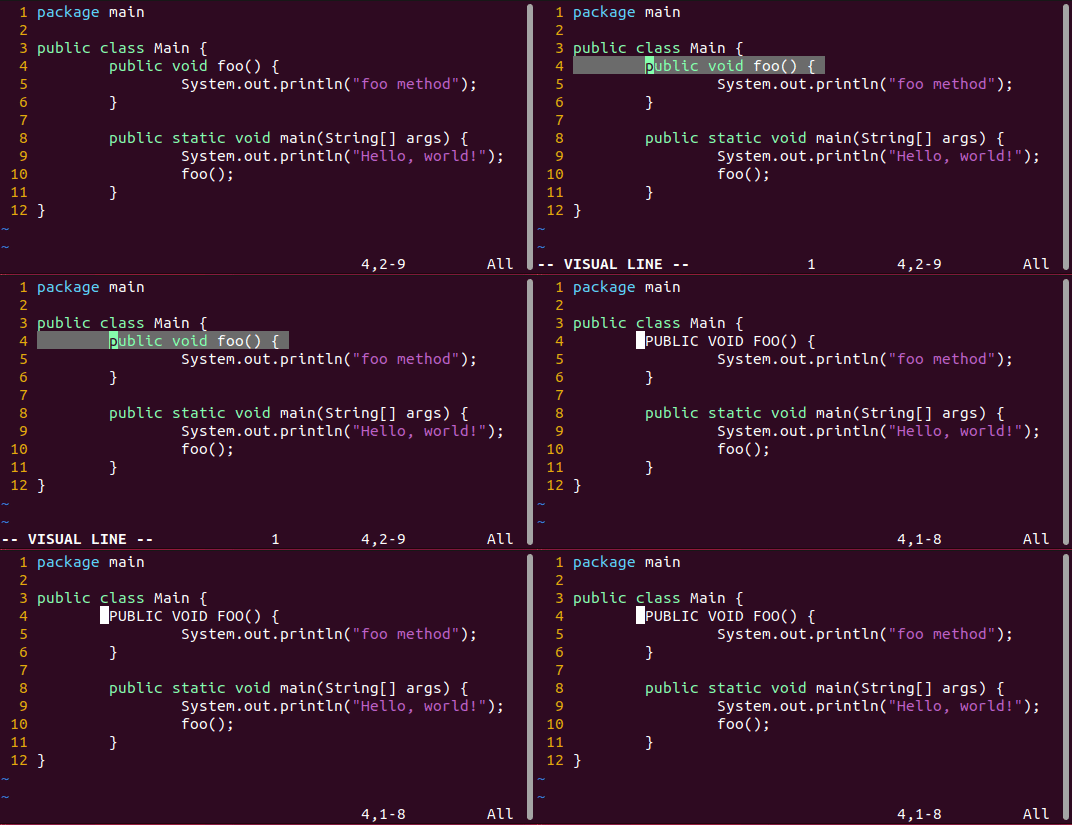
Change case
You can use ~ to change the case of selected characters.
Change the end of the selection
o- Moves cursor to the other direction in the whole selected text.O- Moves cursor to the other direction in the selected line (does not impact on the selected text/block).
Replace mode
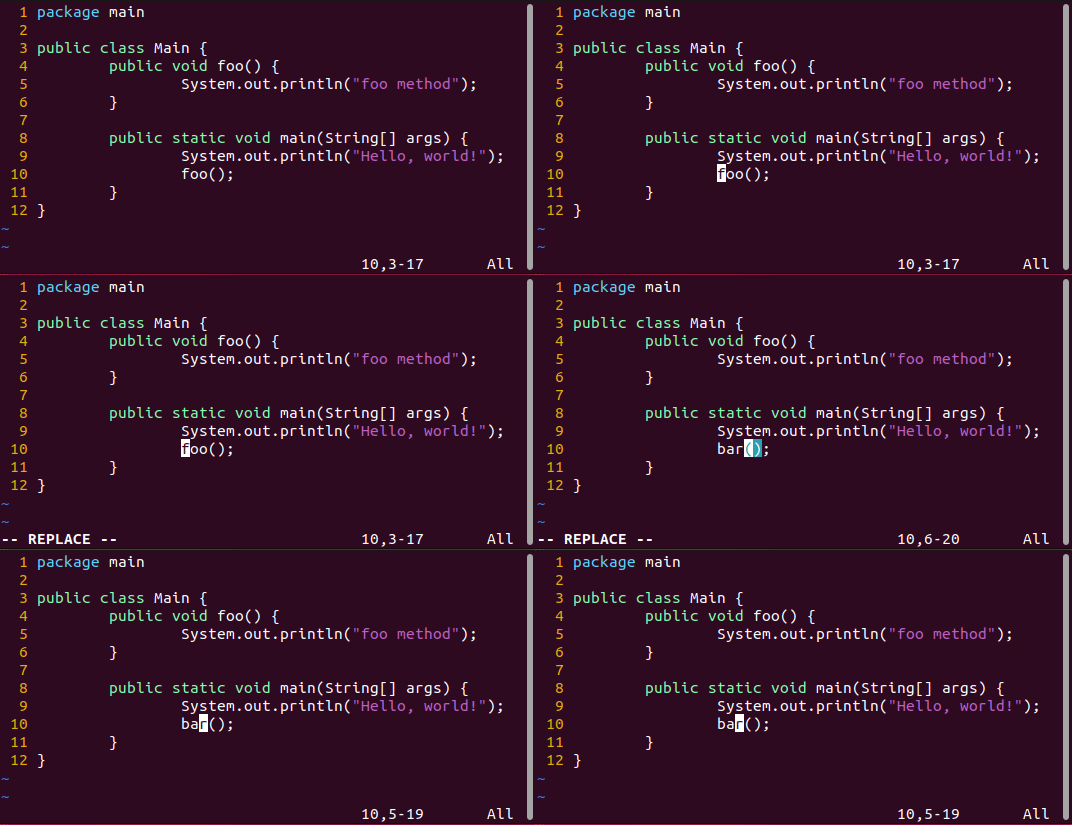
The R command causes Vim to enter replace mode. In this mode, each character you type replaces the one under the cursor. It automaticly extends the line if it runs out of characters to replace.
R- Enter replace mode.<Insert>- Switch between Insert mode and Replace mode.<BS>- Undo the replace of the last character.
Conclusion
Today I showed you basic commands in Vim. I’m going to explore it much more and in the next post we will explore the settings and configurations of Vim.
Thank you for reading, I hope it was useful for you ❤️
